The Targets & Actions section of the Planning page holds a record of all targets in the system. Over time, you may have a lot of targets stored in this area and may need to filter this down to see exactly what you want.
Click on the Planning tab on your main Perspective toolbar. Once the dashboard loads, any previously saved filters will be available within the drop-down just above the number of targets. See the Creating a Custom Target Filter section further down in this guide for instructions on how to set one of these up.
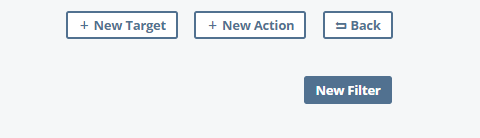
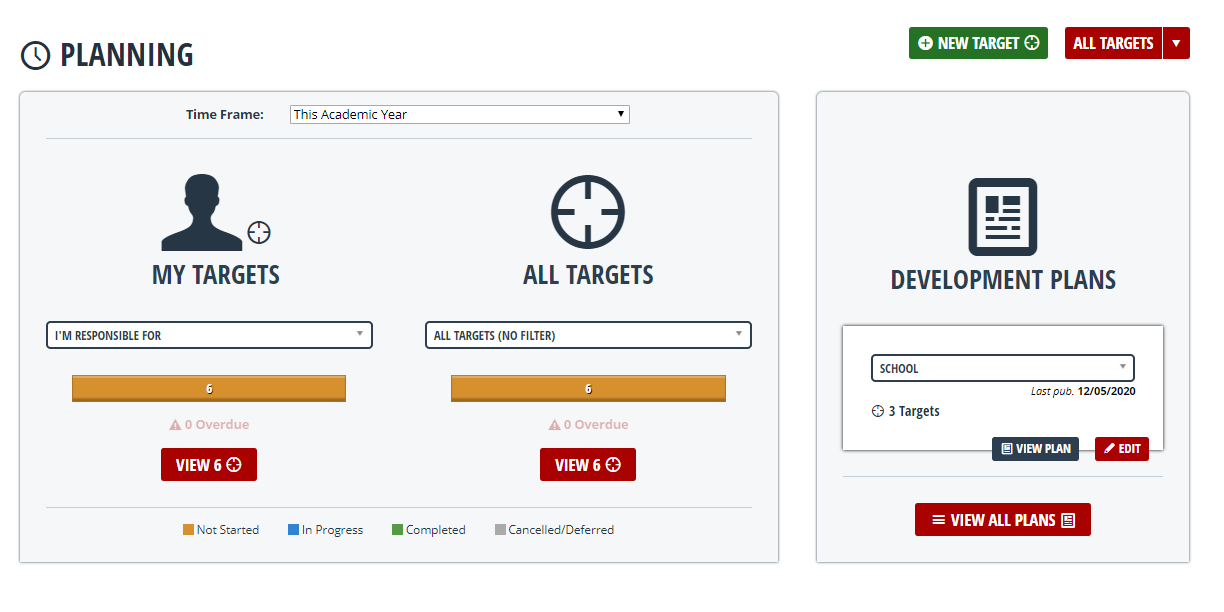 To view a list of all your targets, click the View button on the Planning Dashboard, under the All Targets heading. When the page loads, click on New Filter.
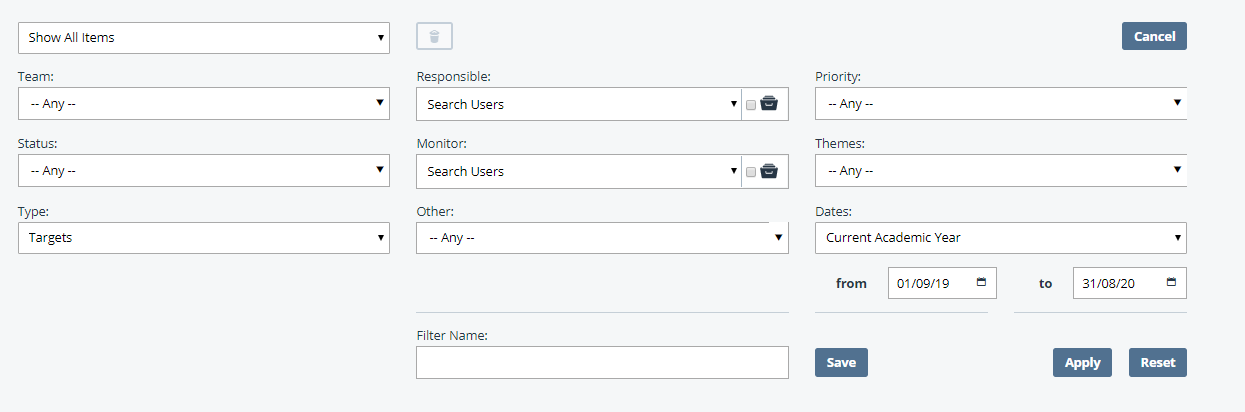
You will then get a number of options to select from, such as what team the target is linked to, who the person responsible for the target is and who is monitoring it. Once you have made your selection, click on Apply and you will be shown the relevant targets based on your search parameters. If you want to set up a filter that you can use directly from the planning dashboard, see the section below.
Creating a Custom Target Filter
Once you have clicked on New Filter, use the dropdown menus to set your parameters and then give this filter a name by typing in the Filter Name field. Click Save when you are done.
You can either hit Apply here to run that search, or you can save this filter for a later date, meaning you can run it directly from your planning dashboard in future. To save that filter, add a name in the Filter Name field and click Save.

Your custom filter will then be available from the Filter dropdown on the planning dashboard. To run that search, select your filter and click the View button.
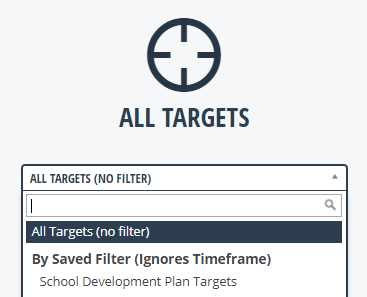
You will then be taken to your targets list, filtered for the selection you specified when setting that custom filter up.